This is the pattern that I've used to make the nappies I'm selling in my shop. It's a one size pattern, with a snap down rise. When I was making nappies for my own babies I don't think I ever made one with a snap down rise. I did use the Kayla's Cloth Kits one-size pattern a lot, but my baby was big enough when I made them that I never needed to use it on the smaller settings. This is really quite a trim fitting pattern, so think it might be quite difficult to stuff. I love the idea of having a different colour fabric on the wings though. It really jazzes the nappy up and if you cut the pattern without the wings you can get more cuts out of your fabric. The wings can be made from scraps. Prints with an accenting solid, or solids with a print on the wings look good too.

The pattern has a welt pocket for putting the inserts in, and I absolutely hated making it! I felt like it looked kind of messy when it was finished too, so I changed the way I did that. I made more of an envelope opening. This is more work though because you've got to cut the wings separately, then hem your pocket opening and line it all up before sewing it together. It's an annoying extra step. This is the way I did it.

Overall, I found this pattern easy to sew, especially when I used suedecloth as an inner. Microfleece was a different story though! That stretched all over the place and wouldn't stay put. The pattern can be used to make AI2 nappies too, but I didn't make any of them because I don't have any absorbent materials at the moment, but it looks like you can use any of the soakers from the Rocket Bottoms patterns and they'll fit inside it.
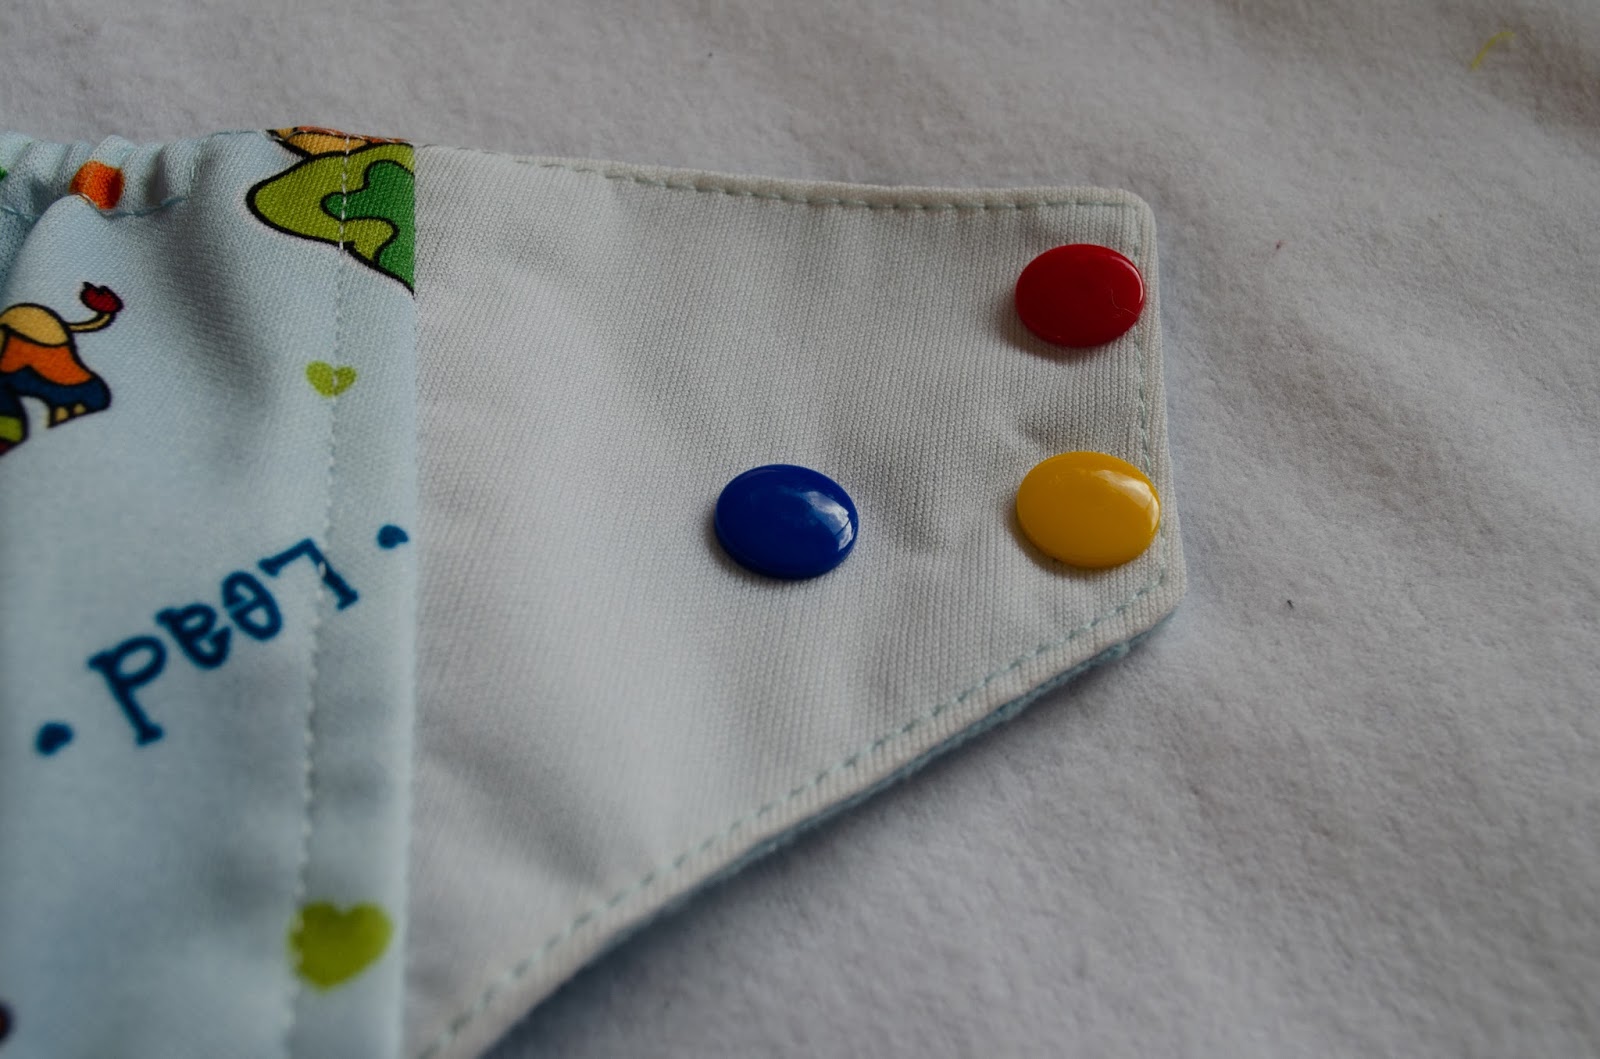
I should also note, there should be ten snaps on each side, but I missed the last snaps in the row off. If you use the last snap in the row then there's nothing for the extra hip snap to snap into and it digs into the baby's skin. I imagine most people will never need to use the last snaps in the row, so it probably won't be a problem, but if you're sewing this pattern for a chubby baby or older toddler then you might want to add an extra inch to the sides of the front panel to give the hip snap something to rest against. Maybe even put an extra socket there so that the hip snap has something to snap into. You could also move all the snaps inwards slightly, maybe having the tabs meet together in the middle. That would solve the problem.


Pocket nappies are hard to photograph nicely when they're unstuffed. I hope people think they look okay!
I'm not sure I'm going to continue with the Rocket Bottoms pattern. I feel like it runs a bit on the small side and I think people might have trouble stuffing them. I have another pattern that I like. I've made one nappy so far with it. It's by Opulent Monsters. The AIO for this pattern looks *fabulous*. But also very complicated to make. It's a quick drying AIO too, so I think that'll be great. I need to get some absorbent fabrics first. This is the pocket nappy on it on it's smallest setting. There are less rise snaps than the Rocket Bottoms pattern, and it's much larger overall. It's wider and easier to stuff. The only downside of this one is it won't fit tiny babies. I think the weight range starts at about 13lbs, where the Rocket Bottoms is about 8lbs if I remember right.
***Update on the Rocket Bottoms Totally Squared pattern: This nappy is very narrow through the crotch, so normal inserts that you get with other nappies, Bumgenius etc, struggle to fit inside. When your insert is too wide it pushes against the leg elastics and causes leaking. This is what happened to a customer who bought some from me, so I decided to remove them from my shop so no one else had the same problem. If you're making them for yourself (or to sell) then I'd recommend making the insert that the pattern instructions tells you to make, or to make sure you have inserts that are no larger than 4 inches/10cm wide.***
Back to the Opulent Monsters pattern...

This pattern has a front opening for the pocket, which is easy to sew. I think it's great that it's the full length of the front because it makes it easier to stuff. Having a PUL layer at the front seems like it's a good way to stop wicking out the front.
The only weird thing about this nappy is that it uses studs where you'd usually have sockets. For nappy makers it's a great idea, because normally you'd use something like 32 sockets and only 6 studs. Snaps are usually sold as sets too, so for every socket you get a matching stud. You end up being over run with studs! This one has a nice even amount, but I'm not sure how I feel about it.

As you can see, there's a row of studs along the top. Studs can be quite sharp and I worry that they might end up pressing into a baby's tummy (if they're chubby and have lots of overhanging fat rolls like most of my babies did!). I suppose the good thing about this type of snap configuration is that you wouldn't get the snaps mixed up. Sometimes snaps can confuse dads or non cloth nappy people. I considered switching the stud row with the socket row but I think the studs might end up pressing into a babies thigh that way.
I have several of these embroidered--with really awesome designs! I wanted to buy some athletic wicking fabric to line them with, but I think I should just go with what I have and use either microfleece or suedecloth. I might work on them tonight. Embroidered nappies are a bit more exciting and unique so they might sell better.

The pattern has a welt pocket for putting the inserts in, and I absolutely hated making it! I felt like it looked kind of messy when it was finished too, so I changed the way I did that. I made more of an envelope opening. This is more work though because you've got to cut the wings separately, then hem your pocket opening and line it all up before sewing it together. It's an annoying extra step. This is the way I did it.

I should also note, there should be ten snaps on each side, but I missed the last snaps in the row off. If you use the last snap in the row then there's nothing for the extra hip snap to snap into and it digs into the baby's skin. I imagine most people will never need to use the last snaps in the row, so it probably won't be a problem, but if you're sewing this pattern for a chubby baby or older toddler then you might want to add an extra inch to the sides of the front panel to give the hip snap something to rest against. Maybe even put an extra socket there so that the hip snap has something to snap into. You could also move all the snaps inwards slightly, maybe having the tabs meet together in the middle. That would solve the problem.


Pocket nappies are hard to photograph nicely when they're unstuffed. I hope people think they look okay!
I'm not sure I'm going to continue with the Rocket Bottoms pattern. I feel like it runs a bit on the small side and I think people might have trouble stuffing them. I have another pattern that I like. I've made one nappy so far with it. It's by Opulent Monsters. The AIO for this pattern looks *fabulous*. But also very complicated to make. It's a quick drying AIO too, so I think that'll be great. I need to get some absorbent fabrics first. This is the pocket nappy on it on it's smallest setting. There are less rise snaps than the Rocket Bottoms pattern, and it's much larger overall. It's wider and easier to stuff. The only downside of this one is it won't fit tiny babies. I think the weight range starts at about 13lbs, where the Rocket Bottoms is about 8lbs if I remember right.
***Update on the Rocket Bottoms Totally Squared pattern: This nappy is very narrow through the crotch, so normal inserts that you get with other nappies, Bumgenius etc, struggle to fit inside. When your insert is too wide it pushes against the leg elastics and causes leaking. This is what happened to a customer who bought some from me, so I decided to remove them from my shop so no one else had the same problem. If you're making them for yourself (or to sell) then I'd recommend making the insert that the pattern instructions tells you to make, or to make sure you have inserts that are no larger than 4 inches/10cm wide.***
Back to the Opulent Monsters pattern...

This pattern has a front opening for the pocket, which is easy to sew. I think it's great that it's the full length of the front because it makes it easier to stuff. Having a PUL layer at the front seems like it's a good way to stop wicking out the front.
The only weird thing about this nappy is that it uses studs where you'd usually have sockets. For nappy makers it's a great idea, because normally you'd use something like 32 sockets and only 6 studs. Snaps are usually sold as sets too, so for every socket you get a matching stud. You end up being over run with studs! This one has a nice even amount, but I'm not sure how I feel about it.

As you can see, there's a row of studs along the top. Studs can be quite sharp and I worry that they might end up pressing into a baby's tummy (if they're chubby and have lots of overhanging fat rolls like most of my babies did!). I suppose the good thing about this type of snap configuration is that you wouldn't get the snaps mixed up. Sometimes snaps can confuse dads or non cloth nappy people. I considered switching the stud row with the socket row but I think the studs might end up pressing into a babies thigh that way.
I have several of these embroidered--with really awesome designs! I wanted to buy some athletic wicking fabric to line them with, but I think I should just go with what I have and use either microfleece or suedecloth. I might work on them tonight. Embroidered nappies are a bit more exciting and unique so they might sell better.
Comments